Plex is a client-server media based media suite that has two main components such as Plex Media Player and Plex Media Server. Plex is the most effective tool that is used for organizing media files together. It enables you to draw all your favourite media in one device, which makes it easily accessible. Plex offers you one simple interface to organize all your media such as your photos, videos, music, movies etc., Plex has a lot of features to enhance your media library. This helps you to stream and enjoy your favourite media content at any time on your Plex installed devices. In this article, we will provide you with the simple steps that explain clearly about how to set up a Plex media server and Plex media player on Windows devices.
You may also like: How to Install Kodi on Windows?
Setting Up Plex Media Server on Windows
Step 1: First download Plex Media Server on your PC that runs any Windows latest windows operating system.
Step 2: After downloading the installation file, double click on that file and run the installer file.
Step 3: Then Click ‘Install’ to proceed with the installation.
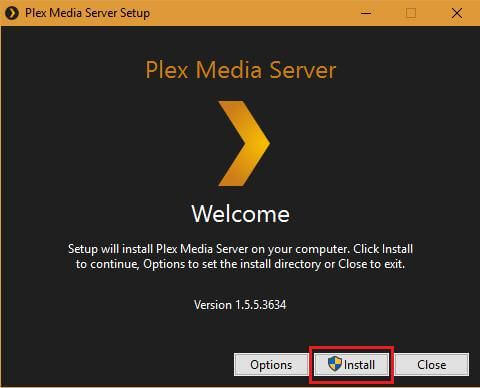
Step 4: Wait for few seconds till the Plex Media Server gets installed on your Windows PC/laptop.
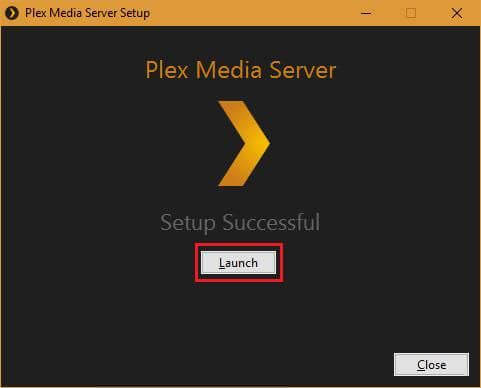
Step 5: Once the installation is finished, Click on the ‘Launch’ button.
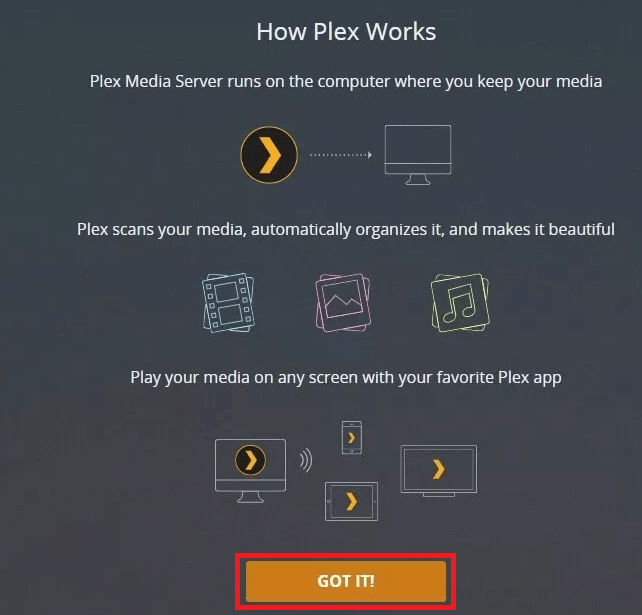
Step 6: Now the setup wizard will open up in the default browser, Enter your Plex account login details and click the ‘Got it‘ button.
Step 7: Give a name for your Plex library and then click the checkbox “Allow me to access my media outside my home” and click on the ‘Next’ button.
Step 8: To add the media files to your server click the ‘Add Library’ button.
Step 9: Then select the Library type such as Movies, TV Shows, Music, Photos & Other Shows) that you wish to add to your library.
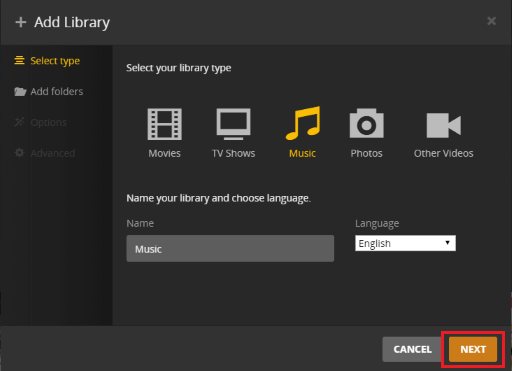
Step 10: Now name the folder for your media.
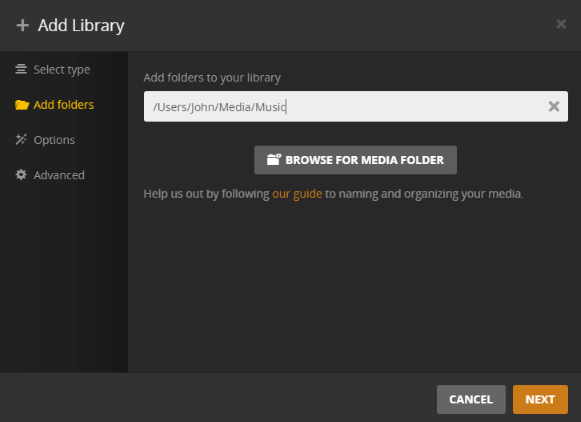
Step 11: Click on the ‘Browser for Media Folder’ to add media files.
Step 12: Once you have loaded the media files, click on ‘Add Library’ button and Click the ‘Next’ option.
Step 13: After doing all these, click the ‘Done’ button to complete the setup process. Now you can load your media files to Plex Server and access them on your devices.

Setting up Plex Media Player on Windows
Before proceeding with the setup, just download Plex Media Player on the computer that has the Plex Media Server to store the media files. You can also download Plex Media Player on other computers or devices.
Step 1: Download Plex Media Player on your PC. Instead of PC you can also use other devices like Android, Mac, iOS, Chromecast etc.
Step 2: After downloading the app, double click and run the installer file.
Step 3: Then Click on the ‘Install’ button to proceed with the installation.
Step 4: Wait for few seconds till the Plex Media Player to get installed on your computer.
Step 5: Click on the ‘Launch’ button to open the Plex app instantly.
Step 6: After launching the app, you need to sign in to Plex, so click the ‘Sign in’ option.
Step 7: Now the setup wizard will be opened on your default browser, enter your Plex account login details and click ‘Sign in’ button.
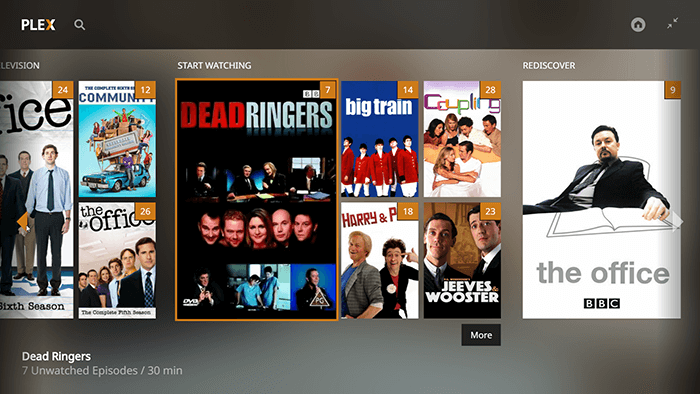
Step 8: Once you have signed in, then close the browser and open the Plex Media Player, now you can see the media files on your Plex Server are synced to the Plex Media Player. You can stream whatever the media that is synced.
Wrapping Up
Hope the above said method helps to Set up Plex Media Server and Plex Media Player on your Windows PC/Laptop. Subscribe to Plex Pass to get most out of the Plex. It gives you access to Premium Photos, Premium Music, Movies, Live TV, Offline Sync, Plex Perks, Parental Controls and many more.
Thank you for visiting Techymice.com. For further queries regarding this, please leave a comment in the comment box below.
